After the request is sent, it may take up to 48 hours to receive the Geomni Roof data. A notification is sent when the roof data is returned.
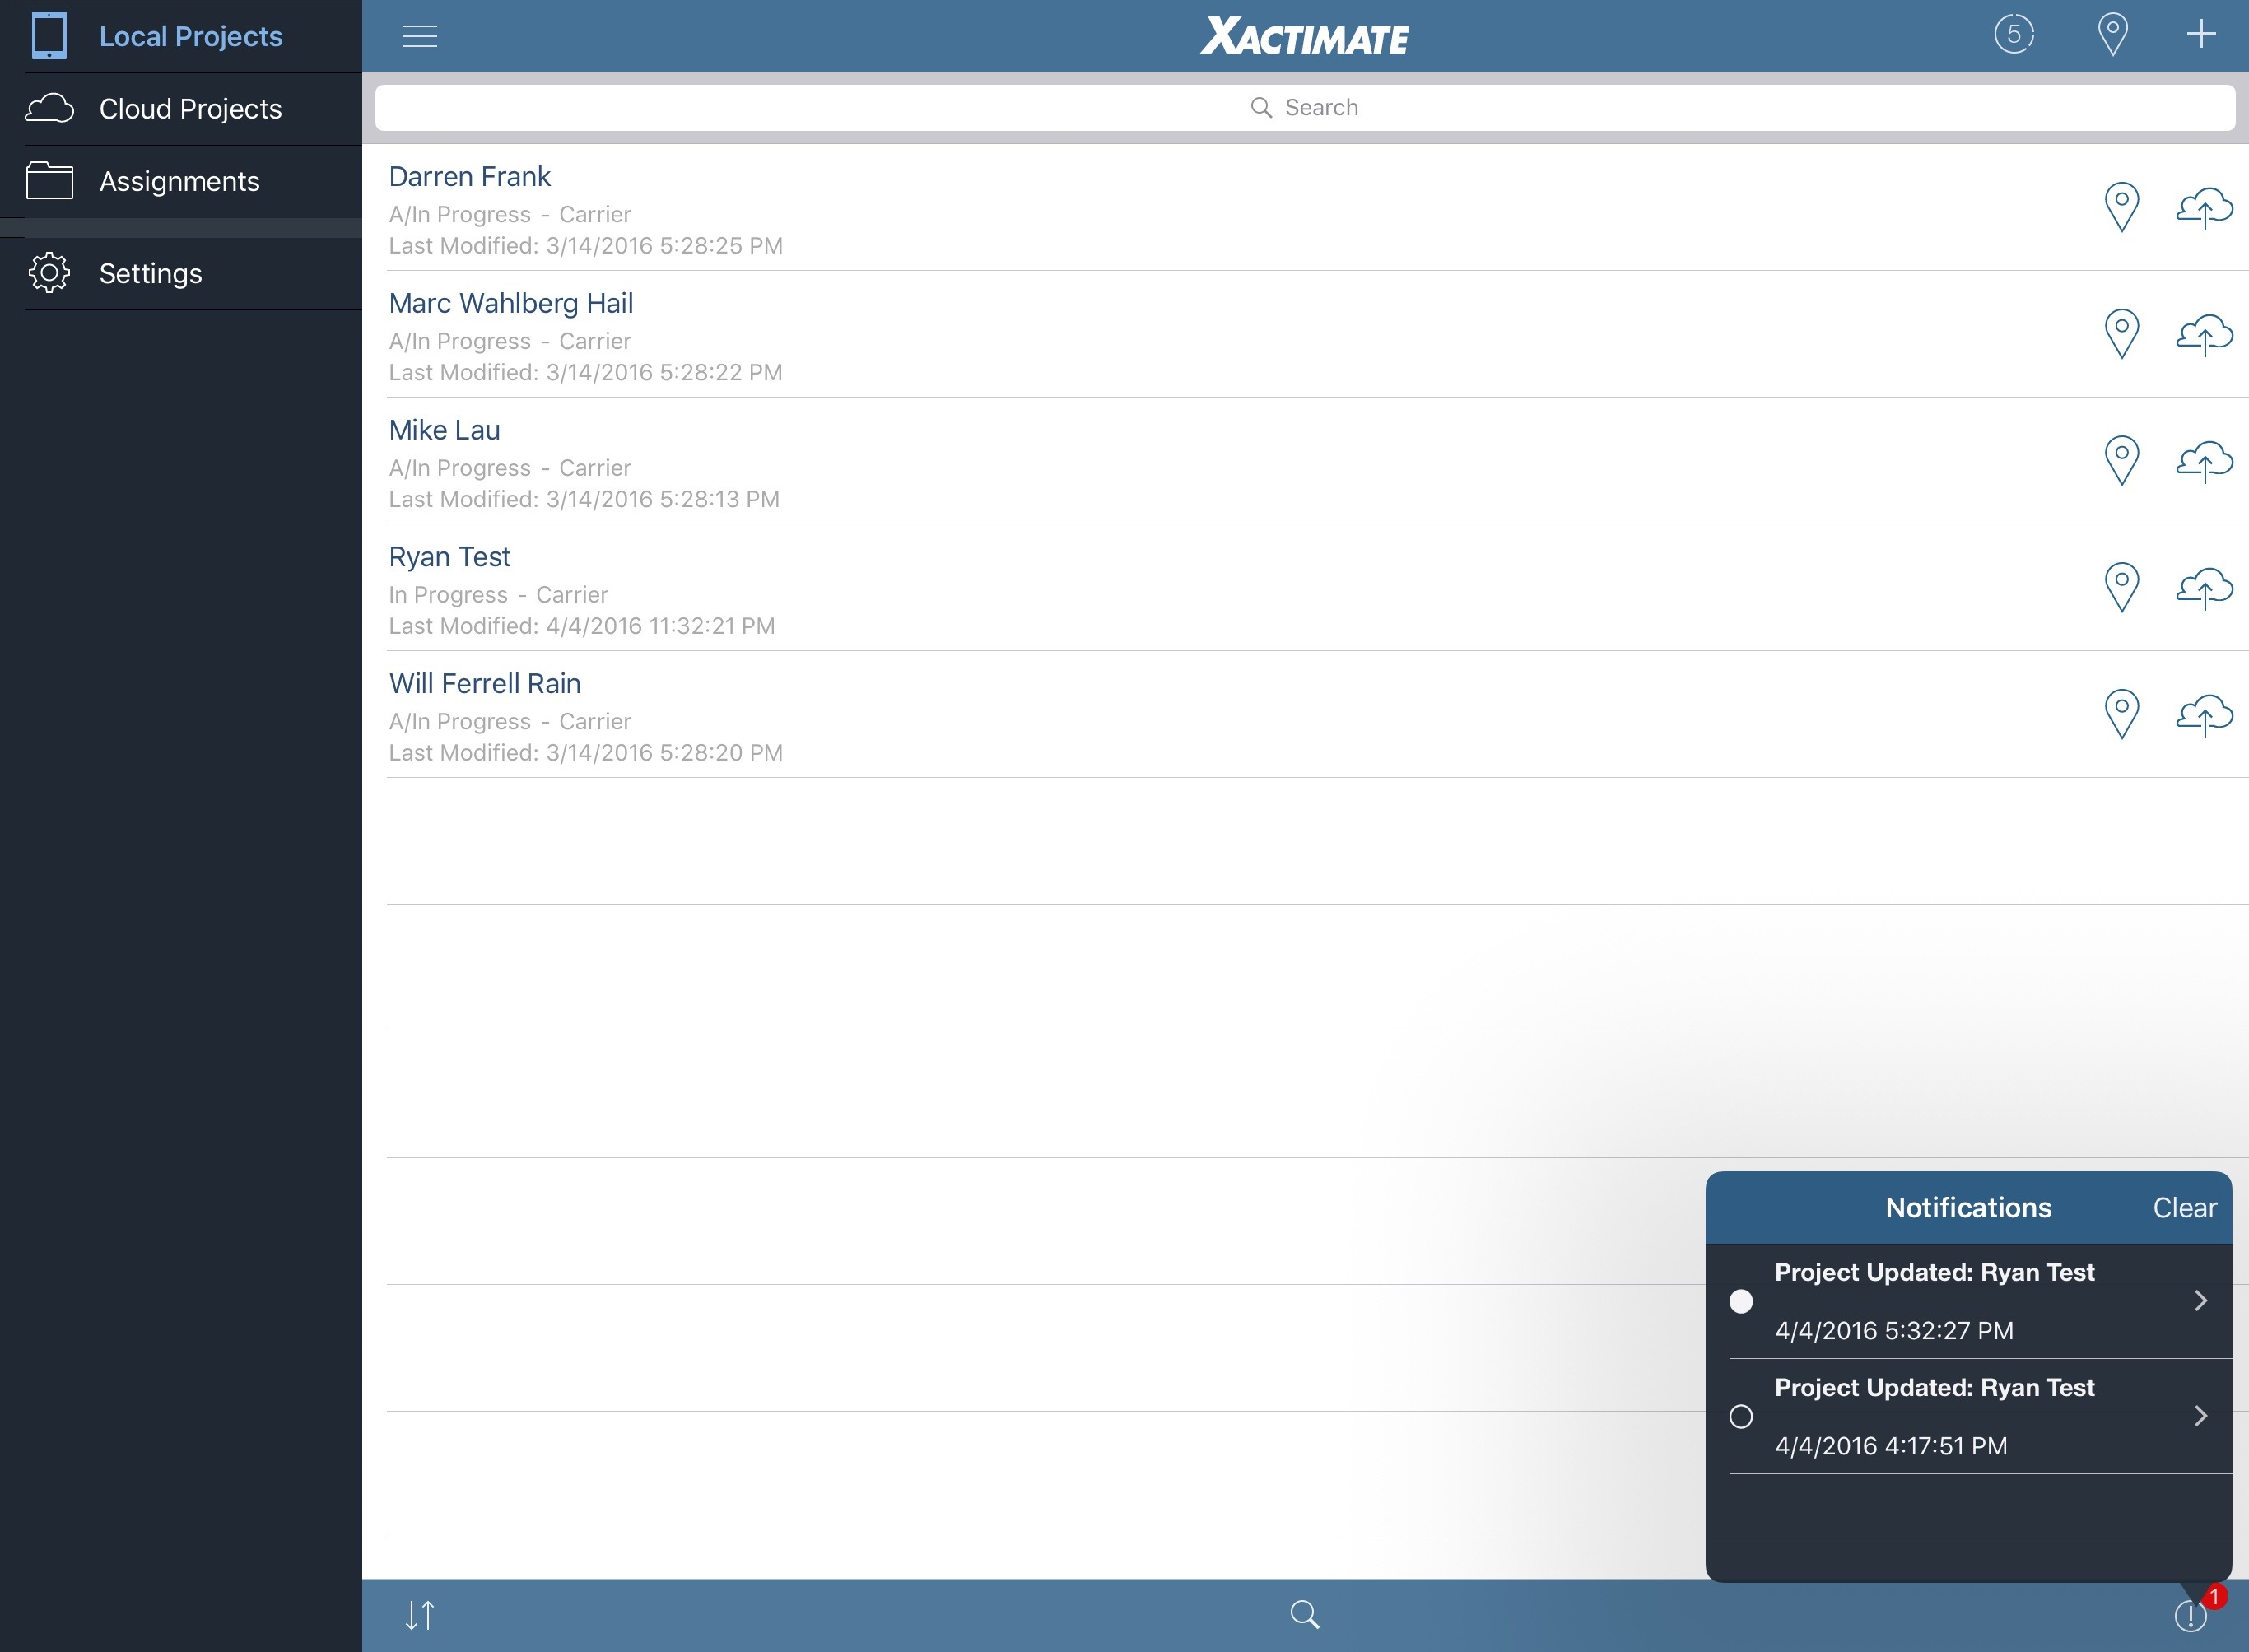
When you receive a notification, a red badge appears above the Notifications icon at the bottom-right of the screen.
When the Geomni Roof data returns, no additional steps are required to accept or load the data. The new roof is automatically added to your sketch.
5.
After receiving the Geomni Roof data, open the project, and then
tap Sketch. You may have to tap ![]() at the
top of the screen and select your Geomni Roof sketch from the drop-down
menu.
at the
top of the screen and select your Geomni Roof sketch from the drop-down
menu.
 Geomni Roof may be unavailable
on certain profiles.
Geomni Roof may be unavailable
on certain profiles.